Blog
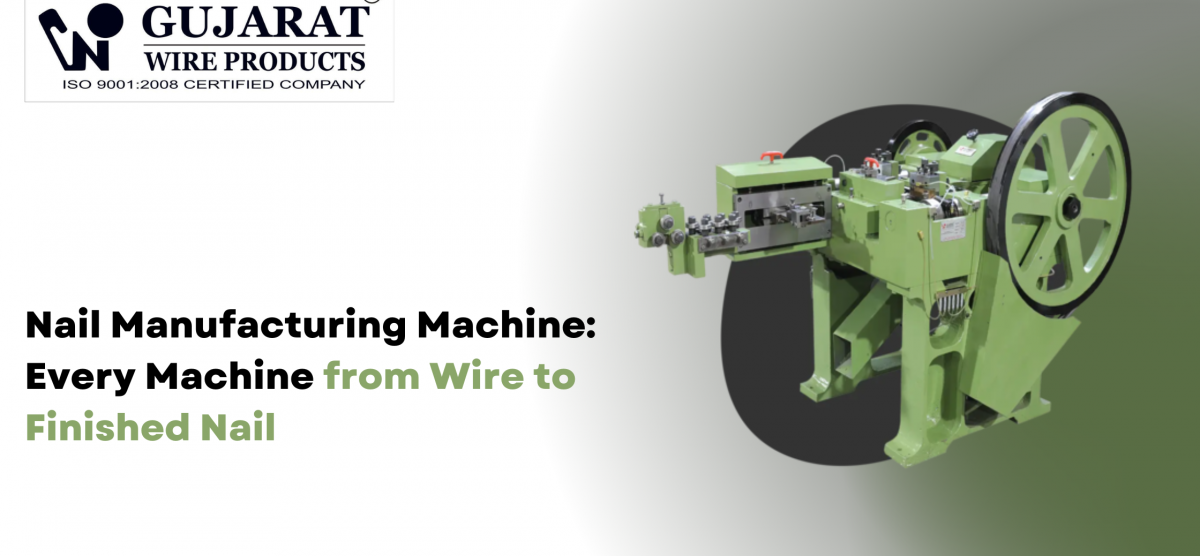
Nail Manufacturing Machine: Every Machine from Wire to Finished Nail
Many first-time investors budget for one nail making machine and assume the plant is done. Then the questions start. Who draws the wire? What polishes the nails? What sharpens the cutters when they wear out on day ten? A nail plant is a chain of machines, and the weakest link sets the output of the whole line.
This guide walks the full line in order. We have built nail and wire drawing machinery in Rajkot since 1975, and we have planned lines from single-machine starter units to multi-machine plants. You will see every machine from wire rod to packed nails, what each one does, and how to size them so no stage holds back the others.
The Nail Manufacturing Process at a Glance
A standard wire nail plant follows this sequence:
- Wire rod receiving
- Descaling
- Pointing and joining
- Wire drawing
- Nail making
- Polishing
- Packing
Two support activities run alongside: tool grinding and quality checks. Galvanizing and coil nail collating are optional extra stages for specific products.
Stage 1: Wire Rod
Most plants start with low-carbon steel wire rod, commonly 5.5 mm or 6.5 mm in diameter, supplied in large coils. Some smaller units skip this stage and buy wire already drawn to size. That saves on machines but costs more per kilogram of raw material.
Stage 2: Descaling Machine
Hot-rolled wire rod carries a layer of mill scale. Scale wears drawing dies quickly and spoils surface finish.
Two common methods:
- Mechanical descaling: the rod is bent over rollers in several directions so the brittle scale cracks off
- Chemical pickling: the rod is cleaned in an acid bath, then rinsed and coated
Mechanical descaling is simpler to run and avoids handling acid. Many nail plants use it for that reason.
Stage 3: Pointing and Joining Machines
Wire Pointing Machine
The end of each coil is reduced in diameter so it can be threaded through the drawing die. Without a pointed end, the wire cannot start through the die.
Butt Welding Machine
Welding the end of one coil to the start of the next keeps the drawing machine running continuously. It saves re-threading time on every coil.
Stage 4: Wire Drawing Machine
The drawing machine pulls wire through a series of dies, each one slightly smaller than the last. The wire gets thinner, longer, stronger and smoother.
What to Know
- Each die reduces cross-section by a set amount, called the draft. Our GWP 400 works at about 25% reduction per pass.
- Capstans, also called blocks, pull the wire through each die and store a few turns before the next one.
- Drawing lubricant, usually a soap powder, sits in a die box ahead of each die.
- Water cooling inside the drum and die box removes heat from the work.
Our GWP 400 is a 4-block over-the-top type machine with 400 mm blocks. It is built for drawing wire used in nails, barbed wire and mesh.
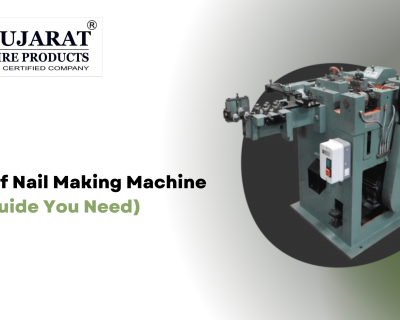
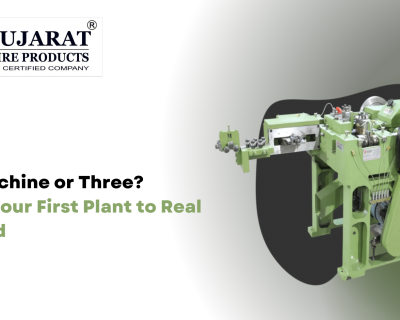
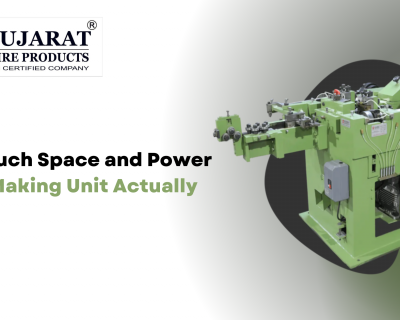
Stage 5: Wire Nail Making Machine
This is the heart of the plant. The machine straightens the drawn wire, grips it, forms the head, cuts the point and ejects the nail, all in one crank revolution.
Choose machines by the nail sizes you sell:
| Model | Nail length | Wire diameter | Max speed |
| GN1 | 6–38 mm | 0.9–1.83 mm | 500/min |
| GN2 / GHN2 | 12–65 mm | 2.0–2.9 mm | 400 / 450 per min |
| GN3 / GHN3 | 25–85 / 25–75 mm | 2.6–4.0 / 2.6–3.6 mm | 350 / 400 per min |
| GN4 / GHN4 | 25–125 mm | 2.64–4.8 mm | 250 / 300 per min |
| GN6 | 38–150 mm | 4.0–6.0 mm | 150/min |
| GHS90 | 40–90 mm | 2.0–3.8 mm | 760/min |
Stage 6: Polishing Barrel Drum
Fresh nails come off the machine with a dull surface and traces of oil. A polishing barrel drum tumbles them with sawdust, which absorbs the oil and buffs the surface. The result is a clean, bright nail that sells better and resists early rust.
Size the drum by batch weight. A drum that is too small becomes a bottleneck at the end of every shift.
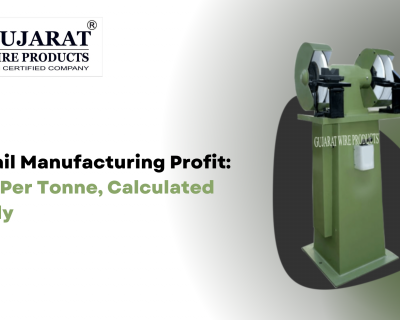
Stage 7: Tool Grinding
Gripping dies, cutters and header punches wear in use. A grinder machine in the plant lets you sharpen tools in-house instead of waiting for replacements. A chequered header grinder restores the pattern on header punches used for chequered-head nails.
Plants that grind in-house usually keep one sharpened set ready for every running machine. That turns a tool change into a short stop instead of a long one.
Stage 8: Weighing and Packing
Nails are sold by weight, so accurate scales are essential. Packing ranges from simple bags and cartons to branded boxes for retail. Clear labelling of size and gauge reduces returns from dealers.
Optional Stages
Galvanizing
Hot-dip or electro-galvanizing adds a zinc coating for outdoor and roofing use. It is usually a separate unit or an outsourced job.
Coil Nail Collating
Nails for pneumatic nail guns are joined into coils with wire or plastic strips. This needs a collating line after the nail making machine.
Balancing the Line
Every stage must keep up with the next. The simplest way to check is to compare each stage in kilograms per shift, not in metres or pieces.
The Thick-Wire Effect
Wire weight per metre rises with the square of diameter. A metre of 3.25 mm wire weighs about 65 g. A metre of 1.65 mm wire weighs about 17 g. At the same drawing speed, the thicker wire delivers nearly four times the kilograms.
This means a drawing machine’s capacity must be stated for the wire size you actually need. A figure quoted for thin wire will understate output on thick wire, and the reverse.
A Worked Example
Say you plan two GHS90 machines on 3.25 mm × 75 mm nails. Each produces about 1,350 kg in an 8-hour shift at 85% efficiency. Your drawing section must then supply about 2,700 kg of 3.25 mm wire per shift, plus a margin for coil changes.
Your polishing drums must handle the same 2,700 kg, and your packing section must weigh and pack it. Check each stage against that number.
Sample Starter Plant Layout
A practical first plant for 1 to 3 inch construction nails:
- 1 mechanical descaler
- 1 pointing machine
- 1 wire drawing machine sized for your main wire gauges
- 2 medium nail making machines, such as GN3 or GHN3
- 1 polishing barrel drum
- 1 grinder machine for tools
- Weighing scale and packing table
Add a small machine like the GN1 for pins, or a heavy machine like the GN4 for longer nails, once your order mix supports it.
FAQs
What machines are needed for a nail manufacturing plant?
A full plant needs a descaler, pointing machine, wire drawing machine, nail making machines, polishing drum, tool grinder and packing equipment. Units that buy ready drawn wire can start with nail making machines, a polishing drum and a grinder.
Can I start nail manufacturing without a wire drawing machine?
Yes. You can buy wire already drawn to your nail diameters. Most units add drawing later, once volume is steady, to cut raw material cost.
How much space does a small nail plant need?
It depends on the number of machines and storage for coils and finished nails. A single GN3 needs about 1,600 × 1,020 mm of floor, but aisles, coil stands and drums take much more. Plan the layout with your supplier before construction.
Why are nails polished after making?
Polishing removes oil from the forming process and gives nails a clean, bright surface. Bright nails look better to buyers and handle more cleanly on site.
Conclusion
A nail plant runs as one chain, from rod to packed nails. Size every machine in kilograms per shift for the wire you will actually use, and keep in-house tool grinding from day one.
Share your nail sizes and target tonnage, and we will draw up a complete line plan for your plant.
About Gujarat Wire Products
Gujarat Wire Products has built nail making and wire drawing machinery in Rajkot since 1975. We supply the full line: wire drawing machines, conventional and high speed nail making machines, polishing barrel drums, grinder machines and every tool the line needs, from gripping dies to header punches. Our machines run in plants across India and in Africa, the UK, Europe and Asia.
Our promise: one supplier, one balanced line, from wire rod to finished nail.