Blog
Integrating Wire Drawing and Nail Making Machines: A Process Guide
Most nail manufacturers run wire drawing and nail making as separate operations. They buy pre-drawn wire from one supplier, feed it into nail machines from another, then troubleshoot mismatches for months. This fragmented approach costs them 15-20% of potential output in machine idle time, wire waste from diameter inconsistencies, and maintenance headaches that nobody planned for. The alternative isn’t complicated—it’s integrated production where wire drawing feeds nail making at matched speeds, with synchronized die maintenance and unified quality control. Factories that connect these processes properly cut setup time by half and reduce wire scrap to under 2%.
This guide walks through the complete integrated workflow from raw wire rod to polished nails, explaining how each phase connects to the next, where bottlenecks actually occur (not where you’d expect), and which auxiliary equipment determines whether your line runs three shifts or breaks down twice a week. You’ll see why treating this as one continuous system, rather than separate machines, changes your cost structure and throughput permanently.
Understanding the Complete Production Flow
Wire nail manufacturing involves three critical phases that must work as one system. Wire drawing reduces raw rod diameter to the exact specification your nail machine requires. The nail making machine forms heads and points at speeds that match your drawing output. Polishing removes burrs and adds the surface finish customers expect.
Most production problems happen at the handoff points between these phases. Wire sits in inventory too long and oxidizes. Diameter variations from drawing create jamming in the nail machine. Output speeds don’t match, so one machine waits while the other runs.
Why Raw Material Selection Determines Everything
Low carbon steel wire rod (SAE 1008 or SAE 1010) arrives at your facility in 5.5mm to 6.5mm diameter coils. Surface quality at this stage matters more than most buyers realize. Scale, rust, and oxide layers on the rod accelerate drawing die wear by 3-4 times. That wear creates diameter inconsistencies that jam nail machine grippers downstream.
Start with a clean rod or invest in a de-scaling unit. There’s no middle option that works.
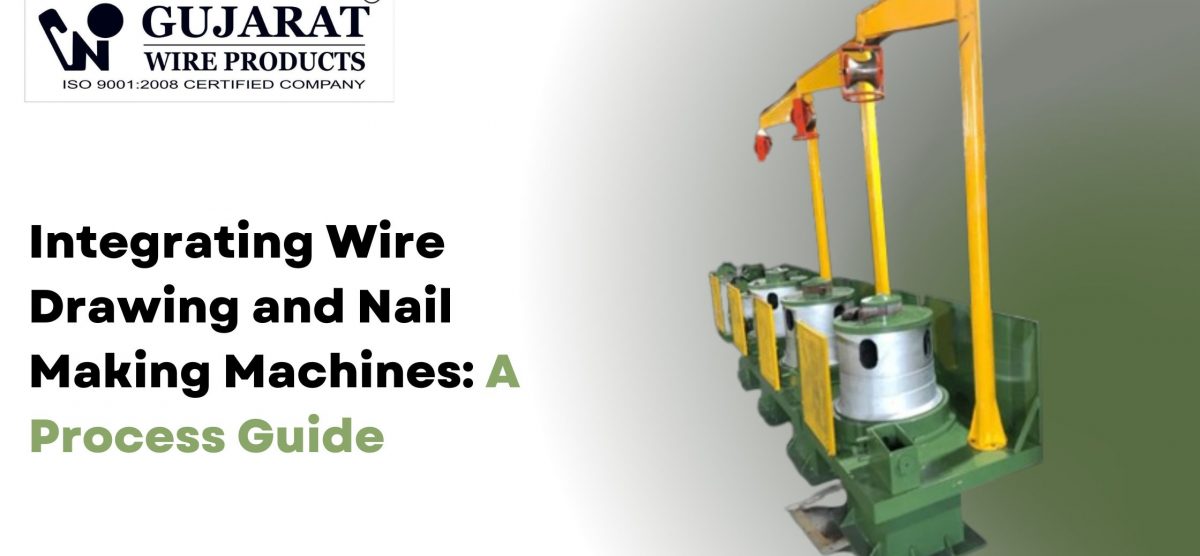
Phase 1: Wire Drawing Setup and Operation
Wire drawing pulls the rod through progressively smaller carbide dies, reducing diameter in controlled steps. A typical setup reduces 6.5mm rod down to 2.5mm wire through 8-10 drawing passes.
The Drawing Process Sequence
- De-scaling and cleaning: Remove surface contaminants before the first die
- Lubrication application: Coat wire with drawing powder to reduce friction and heat
- Multi-pass reduction: Pull through dies in size decrements of 15-20% per pass
- Annealing (if needed): Heat treatment between passes for larger reductions
- Final spooling: Wind finished wire onto Z-spools or standard coils
The Integration Key Nobody Talks About
Install a butt welding machine between your drawing line and nail making machine. This lets you join wire ends and feed continuously without stopping the nail machine every time a spool empties. Factories running butt welders increase actual production time by 12-15% per shift—that’s nearly two extra hours of output with zero additional labor cost.
Most operations skip this step to save $3,000 on equipment, then lose $1,500 monthly in downtime. The math doesn’t work.
Phase 2: Nail Machine Operation and Synchronization
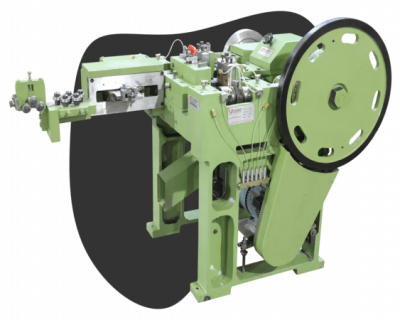
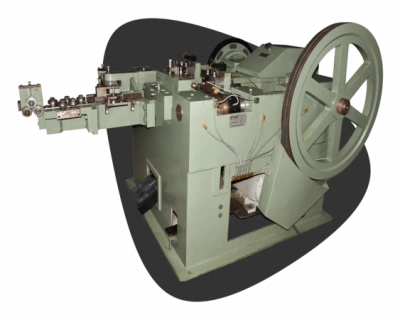
Modern nail making machines run at 300-600 pieces per minute depending on nail size and head type. The machine pulls wire from straightening rollers, forms the head through compression dies, feeds the exact length, cuts and points the tip, then ejects the finished nail.
The Three-Step Forming Cycle
Heading: The gripper dies clamp the wire while the heading punch compresses the end into a flat, checkered, or countersunk head shape.
Cutting and pointing: The machine feeds wire forward by the programmed nail length, then cutting knives shear it and form the point simultaneously.
Ejection: The finished nail drops into a collection chute while the next cycle begins.
Matching Drawing Speed to Nail Consumption
Here’s the contrarian truth: your wire drawing machine should run slightly faster than your nail machine consumes wire, but not as fast as it can. Running drawing at maximum capacity creates inventory that oxidizes and requires reprocessing. Target 110-115% of nail machine consumption rate. That gives you a small buffer for nail machine maintenance without creating oxidation problems.
Phase 3: Polishing for Market Standards
Raw nails straight from the forming machine have sharp edges, metal burrs, and residual drawing lubricant. Industrial customers might accept this. Retail and construction markets won’t.
Polishing drums rotate nails with sawdust or leather shavings plus paraffin or kerosene for 20-30 minutes. The abrasive action smooths edges, removes grease, and creates the bright surface finish that signals quality to buyers.
Skip polishing and your nails sell for 8-12% less. The processing cost is under 3% of sale price.
Critical Auxiliary Equipment
Your production line needs three pieces of equipment that salespeople call “optional.” They’re not.
- Nail cutter grinder: Sharpens cutting knives to prevent barbed points that customers reject
- Die grinding system: Maintains wire drawing die profiles so diameter stays consistent
- Straightening rollers: Removes coil set from drawn wire before it enters the nail machine
Factories that perform in-house tool maintenance reduce machine downtime by 40% compared to operations that send tooling out for service.
FAQs
Q: What wire diameter range works for common nail sizes?
A: Common nails (2″-4″ length) typically use 2.5mm to 3.5mm diameter wire. Finishing nails use 1.8mm to 2.5mm. Your wire drawing line must reliably hit these specs within ±0.05mm to prevent nail machine jams.
Q: How much floor space does an integrated line require?
A: A complete setup (wire drawing, nail making, polishing, and auxiliary equipment) needs 2,000-2,500 square feet for comfortable operation and material flow. Cramped layouts create handling delays that cancel out machine speed advantages.
Q: Can one wire drawing machine feed multiple nail machines?
A: Yes, but only if the drawing machine output matches or exceeds the combined consumption of all nail machines, and you maintain proper spool inventory rotation. Most successful multi-machine setups use a 1:3 ratio (one drawing line feeding three nail machines).
Q: What causes wire breakage during drawing?
A: Die wear, insufficient lubrication, excessive reduction per pass, or contaminated raw material. If breaks happen more than twice per shift, stop and diagnose. Continuing wastes more wire than the downtime costs.
Make Integration Work for Your Operation
Integrated wire drawing and nail making is all about connecting processes so output from one phase feeds the next without delay, quality loss, or operator intervention. Get the synchronization right and you’ll produce more nails per ton of wire rod than competitors running the same machines separately.
Gujarat Wire Products engineers complete nail production systems where wire drawing, nail forming, and finishing equipment work as one integrated line. Our technical team matches machine capacities to your output targets, installs butt welding systems for continuous operation, and provides the auxiliary equipment that keeps your line running through maintenance cycles.
Ready to eliminate the gaps in your nail production workflow? Contact our integration specialists atgujaratwireproducts.com for a production analysis and equipment recommendations based on your target output and nail specifications.