Blog
Wire Nail Making Machine: A Guide
Introduction
Most wire nail businesses underperform not because the machine is weak but because setup discipline and output tracking are loose from day one. New buyers chase a high nails-per-minute rating, then discover real output runs 30–40% lower once wire breaks, changeovers, and polishing delays are factored in. The more uncomfortable truth: most plants never calculate true ROI per machine—they track monthly sales but ignore how reject rates, unplanned stoppages, and poor die management silently erode payback timelines. A wire nail line set up with process discipline, however, can recover machine cost within months when the installation, operating habits, and cost structure align correctly. This guide covers space and utility requirements, step-by-step machine setup, operating tips that stabilise daily output, maintenance routines that protect returns, and a practical ROI framework built around metrics that actually matter on the shop floor.
Basic Setup Requirements
Space and Utilities
Plan 100–200 square metres for a compact line covering wire drawing, nail making, and polishing. Stable three-phase power supply sized to cover the full connected motor load—including polishing drum and ancillary equipment—prevents voltage drops that cause cam timing errors at speed.
Arrange equipment in a straight production flow: decoiler → nail machine → polishing barrel → packing station. Cross-traffic between machines creates handling damage and slows throughput on every shift.
Installation Checklist
- Level the machine on a rigid concrete foundation; vibration from an unlevel base causes length drift within days
- Align the decoiler, straightening path, and machine inlet so wire feeds without side load or kinking
- Verify all guards, emergency stops, and lubrication points before first power-on
- Confirm die box and heading punch alignment using trial pieces before ramping to production speed
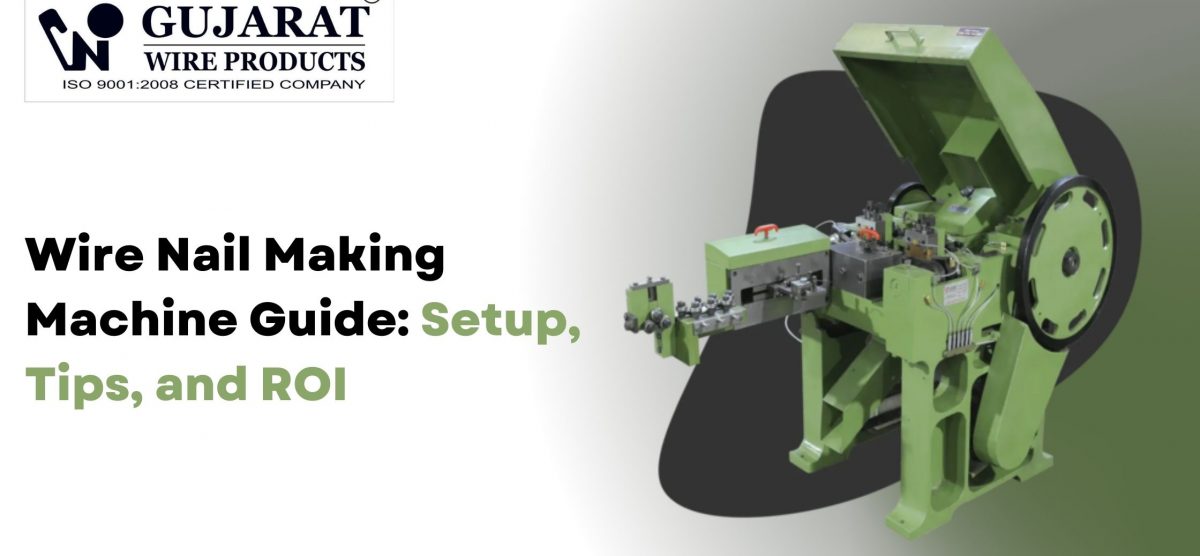
Machine Process Overview
Each nail making machine cycle grips wire, advances it to the set length, cuts to size, forms the point, and compresses the head—all within a fraction of a second. Most standard automatic machines process 1.2mm to 5.5mm wire diameter across 0.5-inch to 6-inch nail lengths at 200–350 nails per minute for common sizes.
Smaller nails run faster because forming loads are lower; 2-inch nails at 3mm wire hit higher speeds than 4-inch nails at 4.5mm wire on the same machine. Pushing outside a model’s design window raises wire breakage and defect rates sharply rather than incrementally.
Step-by-Step Machine Setup
Wire Loading and Path Verification
- Mount coil on decoiler and set light back-tension to prevent over-run slack
- Thread wire through straightening rollers and into the feed mechanism
- Jog the machine slowly and confirm smooth travel with zero rubbing or snagging
Length, Head, and Point Calibration
- Set the feed stroke to target nail length, run 10–20 trial pieces, and verify with calipers
- Install the correct heading die for that wire diameter and nail length—head geometry changes with size even at the same gauge
- Adjust punch alignment until heads sit centrally on the shank with no eccentricity
- Inspect point shape on trial nails; asymmetrical tips indicate pointing die misalignment or wear
- Fine-tune cut timing until points form cleanly without burrs or fish-tail ends
- Only ramp speed after length, head, and point checks all pass
Operating Tips for Stable Production
Speed vs. Quality Balance
Treat rated speed as a ceiling, not a daily target. Most stable operations run at 70–80% of catalog speed to keep first-pass reject rates under 3%. Increase speed in small increments, log reject percentage and wire breaks at each step, then lock the highest speed that holds defects within tolerance.
Changeover Discipline
Each major size change costs 30–60 minutes if dies and settings are not pre-staged. Stage die sets for the next size before the current batch ends. Run a fixed sequence: swap die → adjust feed length → confirm head → confirm point → ramp speed. Skipping any step multiplies trial pieces and reset time.
Maintenance Routines That Protect ROI
Daily Tasks (10–15 Minutes)
- Top up lubrication on bearings, slides, and cams—most seizure failures trace back to missed greasing cycles
- Clean wire chips and metal dust from dies, cutters, and guides
- Inspect sample nails at shift end for length drift, head shift, or point dullness
Weekly and Monthly Checks
- Inspect dies and cutters for wear; replacing them slightly early costs far less than running a full day of borderline nails
- Check belt tension, fastener tightness, and guards—vibration loosens hardware steadily
- Review wire break and reject logs to identify patterns by size, batch, or speed setting
Practical ROI Framework
Measure Real Output, Not Rated Output
Rated 350 nails per minute means little if stoppages drop net output to 210. Use average hourly packed weight as your primary capacity metric—it captures everything rated speed ignores. Track first-pass yield: good nails divided by total produced. Moving from 91% to 97% yield often adds more to the bottom line than a 20% speed increase.
Build a Complete Cost Picture
ROI = (Net monthly profit ÷ Total machine investment) × 100. Include wire waste, power consumption, labour, die and cutter replacement cycles, and realistic maintenance costs—not just raw wire cost and machine EMI. Many well-run lines recover a mid-range machine investment within three to six months once volumes and reject rates stabilise. The operations that take 18 months consistently have one thing in common: they track sales but not production efficiency.
FAQs
How many machines should a new unit start with?
Most new operations begin with one drawing machine, one nail machine, and one polishing barrel in 100–200 square metres. Once local demand is confirmed, add nail machines first—drawing capacity often has surplus that gets utilised as nail machine count grows.
Can one machine cover all nail sizes?
Each model has an economical diameter and length window. Stretching beyond it raises rejects and wire breaks without proportional output gains. For continuous work spanning small panel pins to long construction nails, two complementary models consistently outperform one compromise machine.
What causes most wire breakage?
Poor wire quality, excessive speed, and dull or misaligned dies account for the majority of breakage incidents. Breakage clustering around one nail size or material batch points to wire quality; breakage appearing after speed increases points to settings and tooling condition.
Does automation justify the price premium?
Features like tension control feedback, simplified adjustment systems, and basic fault diagnostics deliver returns beyond speed alone. The premium buys output predictability across shifts and operators—which compresses payback timelines more reliably than raw speed ratings.
Conclusion
Wire nail machines return strong margins only when installation precision, operating discipline, and genuine cost tracking work together from the first production day. Getting all three right converts a machine purchase into a predictable, scalable revenue source rather than a recurring maintenance burden.
Gujarat Wire Products engineers wire nail machines around real production realities: straightforward setup, stable output across extended shifts, and serviceable mechanics that keep ROI timelines short. Our application team helps match models, die tooling, and maintenance schedules to your target nail sizes and daily tonnage requirements. Ready to build a wire nail line that pays back fast and runs predictably? Visit
and request a machine recommendation and production plan tailored to your plant capacity and market.