Blog
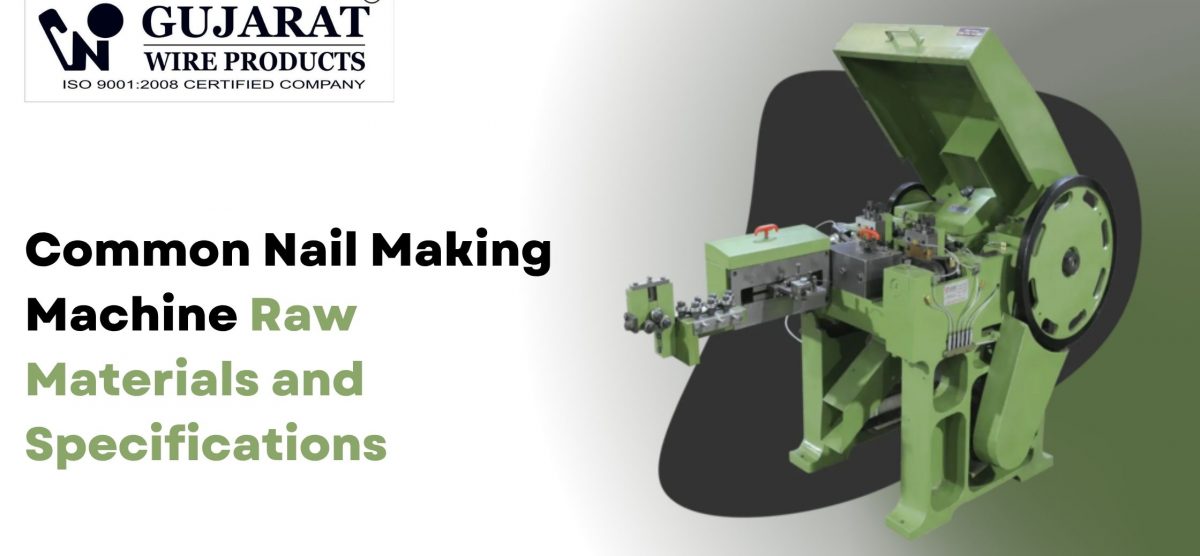
Common Nail Making Machine Raw Materials and Specifications
Most nail production problems don’t start on the machine. They start at the wire coil. Diameter variation causes heading failures. Wrong carbon content splits nails at the shank. Surface scale accelerates die wear to the point where a carbide die rated for two million cycles barely survives half a million. Operators spend entire shifts clearing jams and adjusting settings without realising the machine is fine—the wire is the problem. This matters because raw material specification is the single factor that separates a nail line running at 2% scrap from one burning through 8–10% per shift, and yet most buyers lock down machine specs carefully while leaving wire sourcing to whoever offers the lowest price that week. This guide covers the full picture: the right steel grades and chemical composition, wire diameter standards by nail size, pre-drawing rod specs, special requirements for concrete and coated nails, and the quality checks that keep production predictable. Get these right and your machine performs the way the spec sheet promised.
Primary raw material for nail making
Low carbon steel wire is the standard raw material for common wire nails. The two most widely used grades are Q195/Q235 (Chinese standard) and SAE 1008/SAE 1018 (international standard).
The chemistry that matters for nail production:
- Carbon content: 0.06–0.12% — low enough for cold heading without cracking
- Manganese: 0.30–0.50% — adds strength without reducing ductility
- Phosphorus and Sulfur: max 0.035% each — higher levels make wire brittle and prone to splitting under heading force
Tensile strength should fall in the 350–450 MPa range. Above that, the wire resists heading and cracks at the nail shoulder. Below that, the head deforms under load in service.
Wire diameter and nail size
Every nail size maps to a specific wire diameter. Running the wrong diameter wastes wire, produces undersized heads, and jams the nail machine’s feeding mechanism.
Standard diameter-to-nail-size pairings:
| Nail Length | Wire Diameter | BWG Reference |
| 1.5″ (38mm) | 2.11mm | BWG 14 |
| 2″ (50mm) | 2.77mm | BWG 12 |
| 2.5″ (63mm) | 3.05mm | BWG 11 |
| 3″ (75mm) | 3.40mm | BWG 10 |
| 3.5″ (89mm) | 3.76mm | BWG 9 |
Diameter tolerance must stay within ±0.05mm for automatic nail machine feeding to stay consistent. Wire at ±0.10–0.15mm variation—common with low-cost suppliers—creates heading failures that look like machine faults but trace straight back to wire quality.
Wire rod specifications before drawing
Nail wire starts as 5.5–6.5mm wire rod before going through the drawing process. The rod must meet these pre-drawing conditions:
- Surface condition: Rust-free and scale-free — surface contamination accelerates carbide die wear by 3–4x
- Standard grades: JIS G 3505 SWRM 15/20 or equivalent international standard
- Coil integrity: No kinks, twists, or joins that break drawing continuity
A pattern that surprises most small producers: most die wear problems are traceable to rod surface quality, not die grade. Buying premium carbide dies while running scaled rod is the most common false economy in wire drawing.
Nail head, shank, and point types
The nail making machine’s tooling determines which combinations are possible. Match your wire grade and machine tooling before specifying head, shank, or point geometry.
- Head types: Flat (most common), checkered (improved grip), countersunk (flush finish applications)
- Shank types: Smooth, ring shank (higher withdrawal resistance), square twisted (timber joinery)
- Point types: Diamond point (standard), clinch (concrete board), blunt (splitting-resistant in hardwood)
Special material requirements
Standard Q195/SAE 1008 wire handles common nails. These applications require different grades:
- Concrete nails: High carbon #45 or #60 steel, tensile strength above 800 MPa — required for hardness and penetration
- Stainless nails: Grade 304 stainless wire — used in marine, coastal, and exterior timber applications
- Galvanized nails: Low carbon wire drawn first, then hot-dip or electroplated post-forming
Substituting standard wire in concrete nail production is a consistent failure pattern. The nail bends or shatters on impact instead of penetrating. No amount of machine adjustment compensates for the wrong steel grade.
Machine and wire compatibility
Wire drawing parameters must match your target nail diameter:
- Start with 5.5–6.5mm rod
- Draw through 8–10 progressive carbide dies, reducing cross-section 15–20% per pass
- Anneal between passes where required for ductility on larger reductions
- Finish coils at 25–200kg on 500–800mm diameter reels for clean machine feeding
The coil spec matters more than most buyers acknowledge. Coils wound too tight or with inconsistent tension feed unevenly through the straightening rollers, which causes nail length variation that looks like a feeding mechanism problem.
Quality control checkpoints
Inspection at two stages prevents the majority of production scrap:
Incoming wire checks:
- Diameter measurement at three points per coil
- Surface condition: no rust, scale, pitting, or visible seams
- Tensile test on sample lengths from each batch
- Coil weight and winding integrity
In-process production checks:
- Nail length tolerance: ±1.2mm maximum
- Head diameter and height: visually and with go/no-go gauge
- Point geometry: consistent diamond profile, no burrs or flat spots
- Shank surface: no transverse cracks or wire drawing marks
Producers who run incoming wire checks reduce machine downtime by 40% compared to those who inspect only finished nails. The cost of a failed tensile test is one coil. The cost of discovering bad wire after it runs through the machine is three shift-hours of jams, rejected output, and die inspection.
FAQs
Can I use the same wire for all nail sizes on one machine?
Only within the machine’s rated wire diameter range, which typically spans 1–2mm. Moving from 2mm to 4mm wire requires changing heading dies and cutting knives. Most efficient operations run separate lines for coarse and fine nail sizes rather than constant changeovers on one machine.
What causes nails to crack at the head during production?
Carbon content above 0.15% is the most common cause. High carbon wire resists the cold heading deformation and develops micro-cracks at the shoulder under punch pressure. Check the material certificate from your wire supplier—not just the grade label—and confirm carbon stays within spec for each batch.
How do I know if my wire diameter tolerance is causing machine jams?
Measure ten samples from across the coil using a digital micrometer. If any reading falls outside ±0.05mm of your target diameter, the wire is the problem. Consistent jams in the feeding and straightening section—especially on the first pass of a new coil—almost always trace to wire variation rather than mechanical wear.
Build your production line around the right specifications
Raw material specification isn’t a sourcing decision you make once and forget. It’s an ongoing process of incoming inspection, supplier qualification, and matching wire grade to your exact nail type and machine tooling. Factories that treat wire as a commodity and machines as the precision instrument consistently see higher scrap, faster die wear, and lower uptime than those who control both ends of the process.
Gujarat Wire Products manufactures nail making machines and wire drawing equipment configured for the wire grades and diameter ranges your production actually needs. We supply technical guidance on wire specifications alongside our machines—so you’re not guessing at raw material standards after installation.
Ready to match your wire specs to the right machine configuration? Visit gujaratwireproducts.com or contact our technical team for a wire specification review and nail machine recommendation based on your product range and daily output targets.