Blog
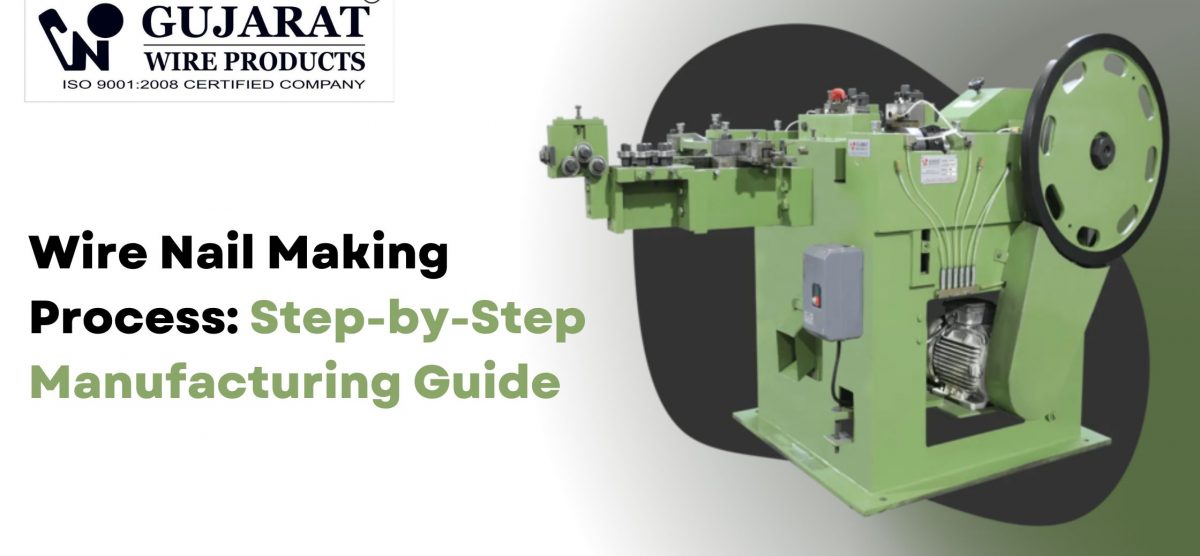
Wire Nail Making Process: Step-by-Step Manufacturing Guide
Introduction
Most manufacturers treat nail making like a black box. Wire goes in, nails come out. That opacity costs money. When production defect rates climb above 2%, you’re not just wasting material—you’re losing contracts to competitors who understand their process controls. The wire nail making process involves seven distinct stages, each one critical to dimensional accuracy and production efficiency. Get wire straightening wrong and your cutting dies wear out faster. Skip proper polishing and surface rust starts within weeks.
This guide breaks down each manufacturing stage with technical specifics that matter: feed rates, die mechanics, quality checkpoints, and maintenance intervals. The goal is simple—turn process knowledge into production advantage. Whether setting up a new factory or optimizing an existing line, understanding these fundamentals separates profitable operations from ones that struggle with inconsistent output and excessive downtime.
Raw Material Selection
Wire Types and Specifications
Wire nail production starts with mild steel wire in gauges ranging from 20 SWG to 6 SWG. Smaller nails (½ to 2 inches) use 20-12 SWG wire, while larger nails (1 to 4 inches) require heavier 12-6 SWG material. The wire arrives in coils weighing 100-500 kg each. Cold drawn bright wire works best because it feeds smoothly and requires less polishing.
Wire quality determines final nail strength. Check for consistent diameter, surface smoothness, and tensile properties before production. Substandard wire causes feeding jams and increases defect rates.
Step 1: Wire Uncoiling
The coil sits on an uncoiler that rotates as wire feeds into the machine. This prevents tangling and maintains consistent tension throughout the production line. Manual feeding creates jerky motion that throws off cutting accuracy. Automatic uncoilers solve this by controlling wire release speed to match machine consumption rates.
Step 2: Wire Straightening
Wire comes off coils with curves and bends. Straightening rollers remove these deformations by passing the wire through multiple contact points set at opposing angles. This stage is non-negotiable. Bent wire produces nails with angled tips or off-center heads.
The straightening mechanism also cleans surface oxidation. Cleaner wire means less die wear and fewer polishing defects downstream.
Step 3: Cutting and Shaping
Nail Length Cutting
After straightening, the wire enters the nail making machine where a grip mechanism pulls exactly the amount needed for one nail. The cutter then shears the wire to length. Modern machines produce 300-500 nails per minute at this stage.
Tip Formation
The front end of the cut wire piece gets compressed and shaped by a pointing die. This creates the tapered nail point in a single strike. Die alignment matters—misaligned pointing dies create asymmetric tips that bend during hammering.
Head Formation
While the tip forms, a heading die and hammer strike the opposite end to create the nail head. This happens in milliseconds. The entire cut-point-head sequence completes before the next wire length feeds through.
Step 4: Size Adjustment
Switching between nail sizes requires changing the cutter length setting and swapping heading dies. A 1-inch nail uses different die geometry than a 3-inch nail, even if the wire gauge stays constant. Plan production runs by size to minimize changeover frequency.
Step 5: Nail Polishing
Fresh-cut nails carry oil residue and small metal burrs. Polishing drums rotate nails with sawdust, iron balls, or leather pieces. The abrasive action removes surface contaminants and creates the smooth, bright finish buyers expect. Polishing duration runs 20-40 minutes depending on nail size and surface requirements.
Here’s what most operators miss: under-polishing leaves oil that attracts rust, while over-polishing thins the nail shank below specification.
Step 6: Quality Control
Dimensional Inspection
Check nail length, shank diameter, and head dimensions against specification sheets. Random sampling works for established processes, but new setups need 100% inspection until defect rates stabilize below 1%.
Defect Sorting
Common defects include bent shanks, off-center heads, incomplete pointing, and dimensional variance. Manual sorting catches obvious problems. Advanced operations use automated vision systems that reject non-conforming nails at line speed.
Step 7: Machine Maintenance
Production stops when machines break. Preventive maintenance extends equipment life and reduces surprise downtime. Key tasks include:
- Lubricating moving parts every shift
- Sharpening cutting dies weekly
- Checking grip mechanism alignment daily
- Replacing worn heading dies before they crack
Die sharpening intervals depend on wire hardness and production volume. Track cuts per die to establish replacement schedules.
Advanced Manufacturing Options
Specialty Nail Types
Thread rolling equipment converts smooth shank nails into screw or ring shank varieties. Galvanizing adds corrosion resistance for exterior applications. These secondary processes expand product range but require additional equipment investment.
Coil Nail Production
Coil nails get collated with wire or plastic strips for pneumatic nailers. The collation process happens after polishing and adds 15-20% to production time but commands premium pricing in construction markets.
FAQs
What wire gauge produces the strongest 2-inch nails?
12-14 SWG wire creates 2-inch nails with optimal strength-to-weight ratios for general construction. Thicker gauges work for specialized applications but increase material costs without proportional strength gains.
How does production speed affect nail quality?
Machines running above rated capacity (beyond 500 nails/minute for standard equipment) increase defect rates due to die heating and alignment drift. Optimal speed balances throughput with quality consistency.
What causes inconsistent nail head dimensions?
Worn heading dies create the most head variation. Temperature changes in the die also affect metal flow during heading. Replace dies showing visible wear or producing heads outside ±0.1mm tolerance.
Can one machine produce multiple nail types?
Yes, but changeover takes 15-30 minutes for die swaps and length adjustments. Batch similar sizes together to maximize production efficiency rather than switching frequently throughout the day.
What’s the typical defect rate for well-maintained equipment?
Modern automatic machines achieve defect rates below 1% with proper setup and maintenance. Rates above 2% indicate worn tooling, poor wire quality, or incorrect machine settings requiring immediate attention.
Conclusion
Wire nail manufacturing transforms simple steel wire into precision fasteners through controlled mechanical processes. Each stage—from straightening to polishing—directly impacts final product quality and production costs. Contact us today to discuss machinery specifications that match your production targets and quality requirements.
Gujarat Wire Products has manufactured precision nail making equipment since 1975, serving clients across India, Africa, Europe, and Asia. Our ISO 9001:2008 certified machines deliver consistent output in demanding industrial environments. We provide complete technical training, preventive maintenance programs, and spare parts support that keeps production lines running.
Request a detailed process consultation—visit gujaratwireproducts.com or speak with our engineering team about optimizing your nail manufacturing setup for maximum efficiency and quality.

